Upload a recording
Bring in audio and video you captured somewhere else.
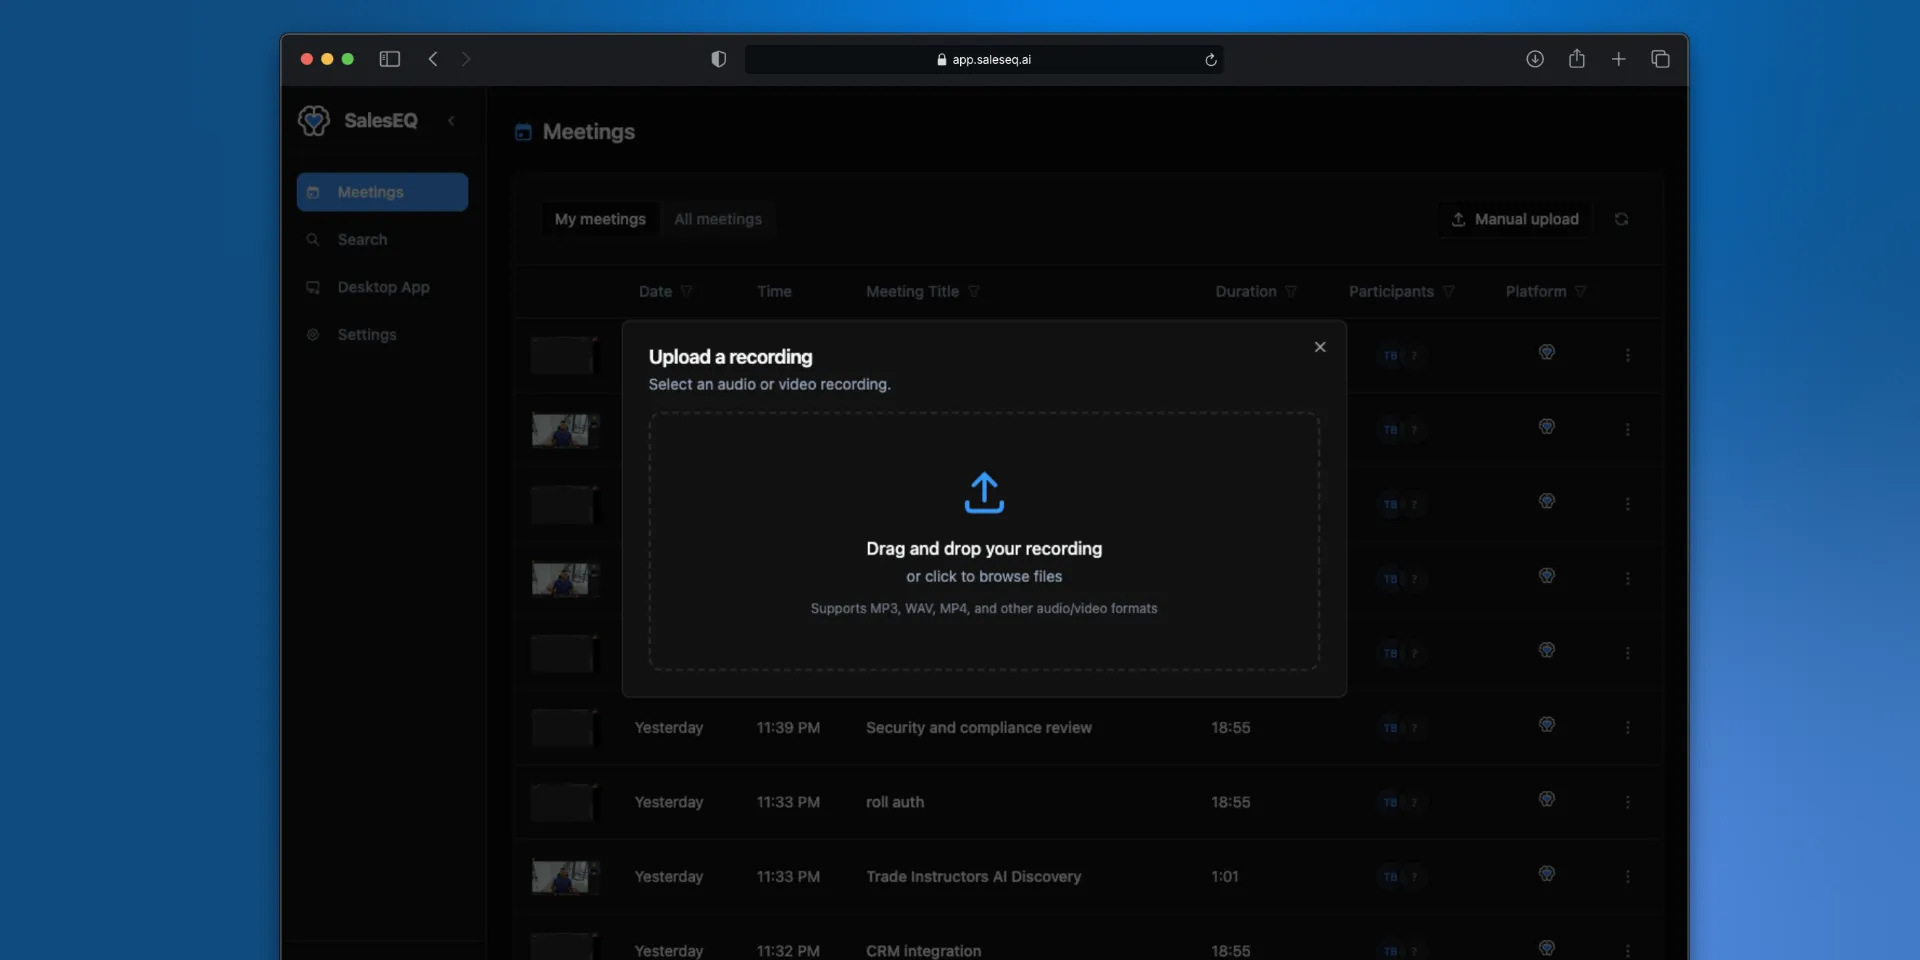
Uploaded files become full meetings. They are transcribed, searchable, shareable, and analyzed exactly like meetings SalesEQ recorded itself.
Upload is how you bring in a single file SalesEQ did not record, such as a recording from a platform you do not run the desktop app on, or a file a teammate sent you.
If your meetings are in another meeting tool, import them instead. An import brings a whole backlog across at once and keeps each meeting's date and recorder.
Upload a file
Open Manual upload
Go to Meetings and select Manual upload.
Add a file
Drag a file into the dialog, or select the drop zone to browse for it.
SalesEQ accepts common audio and video formats, including MP4, MOV, MP3, M4A, WAV, and WebM.
Follow its progress
The dialog closes and a temporary row appears at the top of My meetings. It shows the upload and processing state without blocking another upload.
Keep the tab open while the file is uploading. Once processing starts, you can leave the page. Processing usually takes a few minutes.
Select Manual upload again if you want to upload another recording in parallel.
Verify it worked
The temporary row becomes a normal meeting under My meetings when processing finishes. Its generated title and thumbnail can arrive as the row updates.
What is different about uploaded meetings
An upload is a media file and nothing else. A meeting SalesEQ records arrives knowing what the meeting knew: who was in it, who spoke when, who shared a screen. An upload carries none of that, so SalesEQ works out what it can from the recording itself.
- Speaker names are a best guess. They come from the conversation rather than from the meeting, so they need checking more often than on a recorded meeting.
- The title is generated from the content. Rename it if your team calls it something else.
- The date is the day you uploaded it. A recording of a meeting from last month arrives dated today.
Next
- Viewing a meeting covers fixing a title or a speaker name.